
Add search to your website
This tutorial creates an AI Search instance that indexes your website, then adds a working search bar, chat bubble, and search modal to your site's frontend. It uses the UI snippets, pre-built web components that connect to your instance's public endpoint, so you add search with only a few lines of frontend code.
What you will build: An AI Search instance that indexes your website, and a search bar, chat bubble, and search modal added to your site's frontend that query that content.
- Sign up for a Cloudflare account ↗.
- Install
Node.js↗.
Node.js version manager
Use a Node version manager like Volta ↗ or nvm ↗ to avoid permission issues and change Node.js versions. Wrangler, discussed later in this guide, requires a Node version of 16.17.0 or later.
This tutorial adds search to an existing React app. If you are starting a new project, scaffold one first with the React framework guide, then follow the next steps. The snippets are framework-agnostic web components, so the same approach works in other frameworks or plain HTML, as shown in UI snippets.
Create an instance with the Wrangler CLI. To index a website you own, connect it as a data source so AI Search crawls and indexes it automatically:
npx wrangler ai-search create my-search --type web-crawler --source <YOUR_DOMAIN>yarn wrangler ai-search create my-search --type web-crawler --source <YOUR_DOMAIN>pnpm wrangler ai-search create my-search --type web-crawler --source <YOUR_DOMAIN>Replace <YOUR_DOMAIN> with a domain onboarded to your Cloudflare account. To create an instance without a data source and upload files yourself instead, run npx wrangler ai-search create my-search --type builtin and add content from the dashboard.
Check indexing progress:
npx wrangler ai-search stats my-searchyarn wrangler ai-search stats my-searchpnpm wrangler ai-search stats my-searchOnce indexing completes, you can test a query from the command line:
npx wrangler ai-search search my-search --query 'What is this site about?'yarn wrangler ai-search search my-search --query 'What is this site about?'pnpm wrangler ai-search search my-search --query 'What is this site about?'The UI snippets connect to your instance through its public endpoint.
-
Go to AI Search in the Cloudflare dashboard.
Go to AI Search -
Select your
my-searchinstance. -
Go to Settings > Public Endpoint.
-
Turn on Enable Public Endpoint.
-
Copy the public endpoint ID from the URL,
https://<INSTANCE_ID>.search.ai.cloudflare.com/. You will use it in the next steps.
In your website's project, install the AI Search UI snippet library:
npm i @cloudflare/ai-search-snippetyarn add @cloudflare/ai-search-snippetpnpm add @cloudflare/ai-search-snippetbun add @cloudflare/ai-search-snippetImport the snippet library in one of your components and add the tags where you want search to appear. Importing the package once registers the components with the browser. The following example adds a search bar, a floating chat bubble, and a search modal that opens with Cmd/Ctrl+K to the app's root component. Replace <INSTANCE_ID> with your public endpoint ID from step two.
import "@cloudflare/ai-search-snippet";
export default function App() { return ( <div> <search-bar-snippet api-url="https://<INSTANCE_ID>.search.ai.cloudflare.com/" placeholder="Search..." max-results={50} max-render-results={10} show-url="true" show-date="true" /> <chat-bubble-snippet api-url="https://<INSTANCE_ID>.search.ai.cloudflare.com/" style={ { "--search-snippet-primary-color": "#F6821F", } as React.CSSProperties } /> <search-modal-snippet api-url="https://<INSTANCE_ID>.search.ai.cloudflare.com/" placeholder="Search documentation..." shortcut="k" show-url="true" show-date="true" /> </div> );}The snippet package ships type definitions for its classes, but it does not tell TypeScript that <search-bar-snippet> and the other tags are valid JSX elements. The Vite development server does not type-check, so the app runs without this step, but adding a declaration file keeps .tsx type checks and editors from reporting errors on the custom tags.
Create a declaration file such as src/ai-search-snippet.d.ts:
import type { HTMLAttributes } from "react";
// Register the snippet web components as valid JSX elements. The index// signature allows their custom attributes (such as api-url and placeholder).type SnippetElement = HTMLAttributes<HTMLElement> & {  [attribute: string]: unknown;};
declare module "react" {  namespace JSX {    interface IntrinsicElements {      "search-bar-snippet": SnippetElement;      "chat-bubble-snippet": SnippetElement;      "search-modal-snippet": SnippetElement;    }  }}
This types the tags loosely so any attribute is allowed. For stricter, per-component types, refer to the React demo declarations ↗ in the snippet repository.
The public endpoint uses CORS to control which sites can call it. Add the origin your site runs on during local development so the browser can reach the endpoint. A Vite app runs on http://localhost:5173.
- In your AI Search instance, go to Settings > Public Endpoint.
- Under Authorized hosts, add your local origin, for example
http://localhost:5173. - Select Save.
Start your development server:
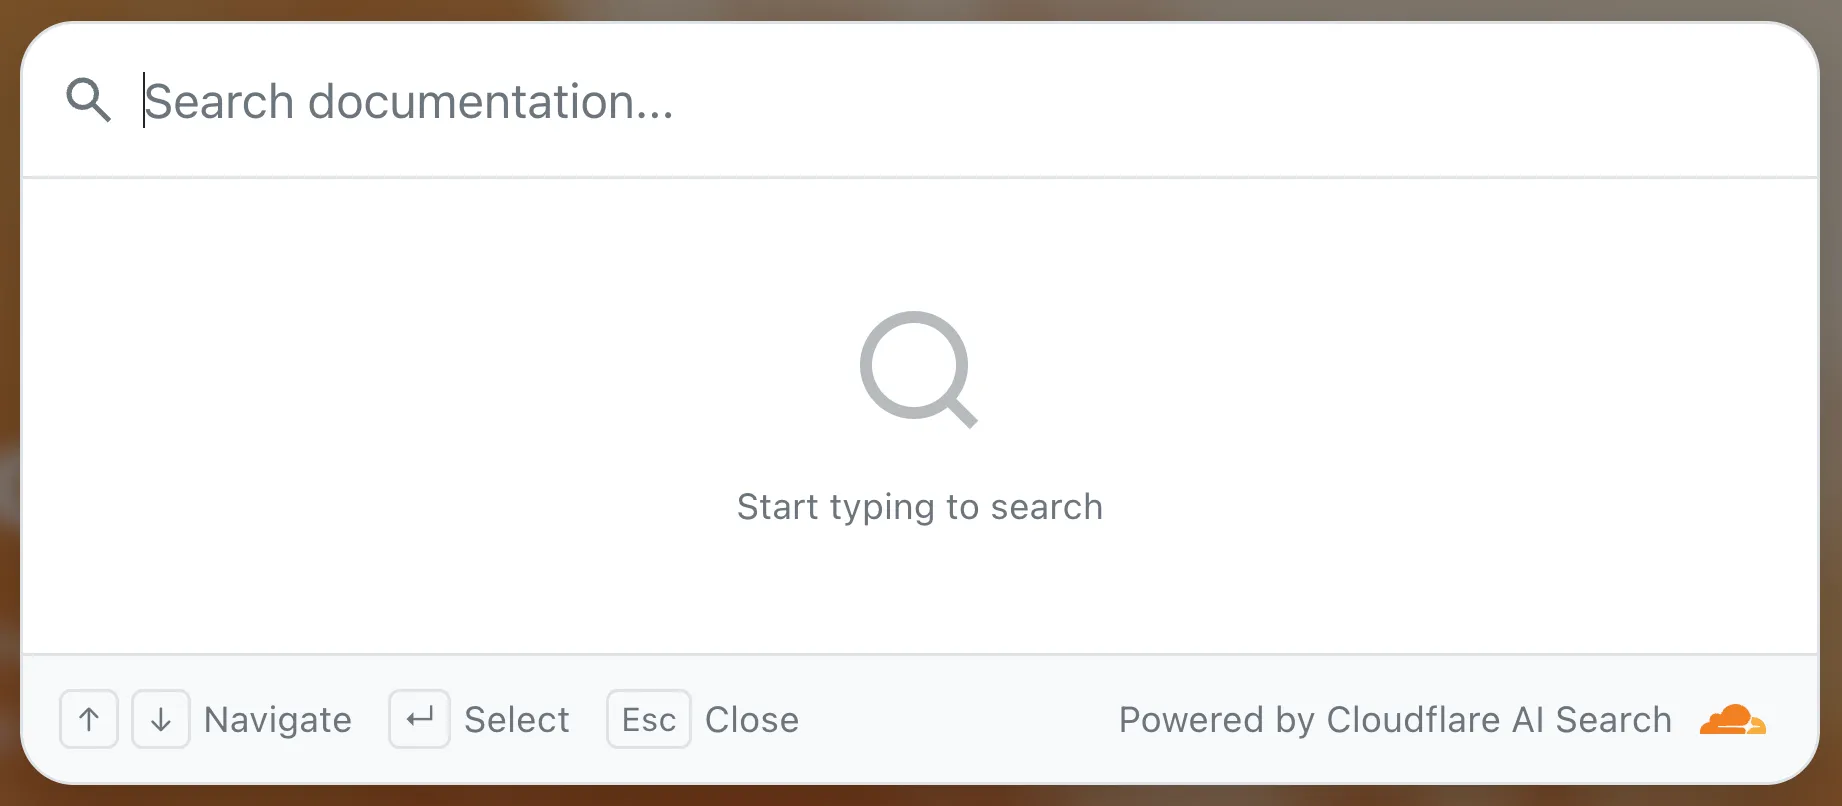
npm run devyarn run devpnpm run devOpen your site in the browser (a Vite app runs on http://localhost:5173). Type in the search bar to see results in a dropdown, select the chat bubble in the corner to ask a question, or press Cmd/Ctrl+K to open the search modal. For the full set of components, attributes, and theming options, refer to UI snippets.
The snippets work anywhere your site is served. When you deploy your site to its production domain, return to Settings > Public Endpoint and add that origin to Authorized hosts (as in step five), so the browser can reach the endpoint in production.